Ever wished you could change the radio station or crank up the volume without taking your hands off the wheel? If you’re wondering how to connect steering wheel audio controls, you’re in for a rewarding DIY project. As a car enthusiast who’s spent years tinkering with my Dodge Ram and helping buddies upgrade their Hondas and Fords, I’ve wired up plenty of steering wheel controls to make driving safer and more convenient.
Whether you’re retrofitting a new stereo, fixing non-working controls, or upgrading your ride, this guide will walk you through the process step-by-step, tailored for US drivers navigating busy city streets or long rural highways.
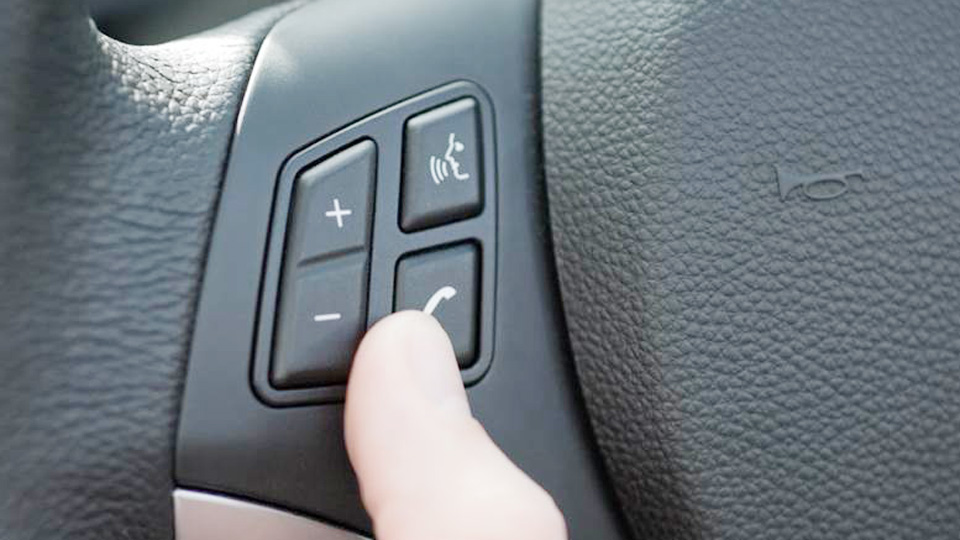
Image by crutchfield
Why Steering Wheel Audio Controls Matter
Steering wheel audio controls let you manage your car’s audio system—volume, track selection, radio presets, and sometimes phone calls—without taking your hands off the wheel or eyes off the road. They’re standard in most modern US cars, from budget Toyota Corollas to loaded Chevy Silverados, but older models or aftermarket stereos might need some work to get them functioning.
These controls are a game-changer for safety and convenience. I learned this when my Ram’s stock stereo died, and the new aftermarket unit didn’t play nice with the steering wheel buttons. After wiring them up, I could blast my favorite tunes on a Texas road trip without fumbling for knobs. In the USA, where distracted driving laws are strict and roads range from icy Minnesota highways to congested LA freeways, keeping your hands on the wheel is critical.
Why It Matters: Functional steering wheel controls reduce distractions, improve safety, and make your drive more enjoyable, especially on long commutes or in stop-and-go traffic.
How Steering Wheel Audio Controls Work
Steering wheel audio controls are part of your car’s electrical system, communicating with the stereo via wires or a digital interface. In older cars, controls use analog signals (resistance-based), where each button sends a specific voltage to the stereo. Newer vehicles use digital systems like CAN bus (Controller Area Network), sending data packets to the head unit.
The setup typically includes:
- Buttons/Switches: Mounted on the steering wheel, connected to a clock spring (a coiled wire in the steering column).
- Wiring Harness: Links the buttons to the stereo or a control module.
- Interface Module: For aftermarket stereos, adapts steering wheel signals to the new unit.
- Head Unit: The stereo itself, which must be compatible with the controls.
Understanding this system is key to connecting or fixing controls, especially when swapping stereos or troubleshooting issues in varied US climates, where heat or salt can corrode connections.
Common Reasons Steering Wheel Controls Don’t Work
If your controls aren’t working or you’re installing a new stereo, here’s what might be going on, based on my experience.
Incompatible Aftermarket Stereo
Many aftermarket stereos (like Pioneer or Kenwood) don’t natively support factory steering wheel controls. You’ll need an adapter to translate signals.
My Experience: I installed a Pioneer head unit in my Ram, but the steering wheel buttons were useless until I added a $50 adapter.
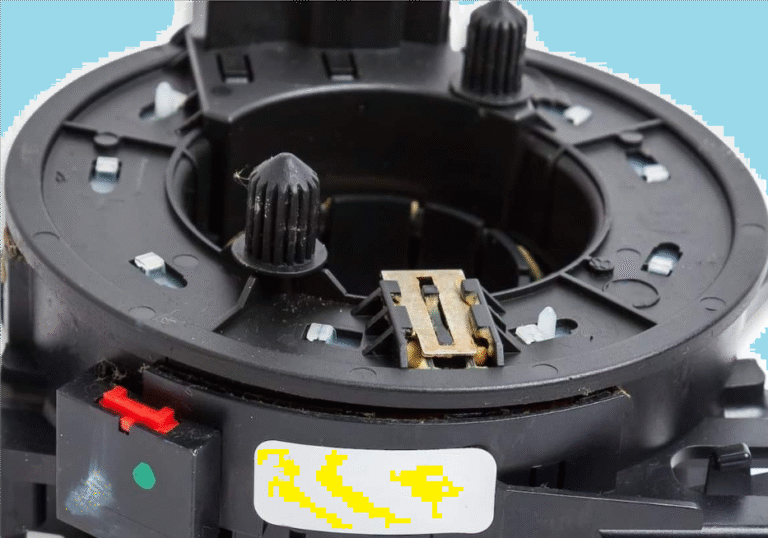
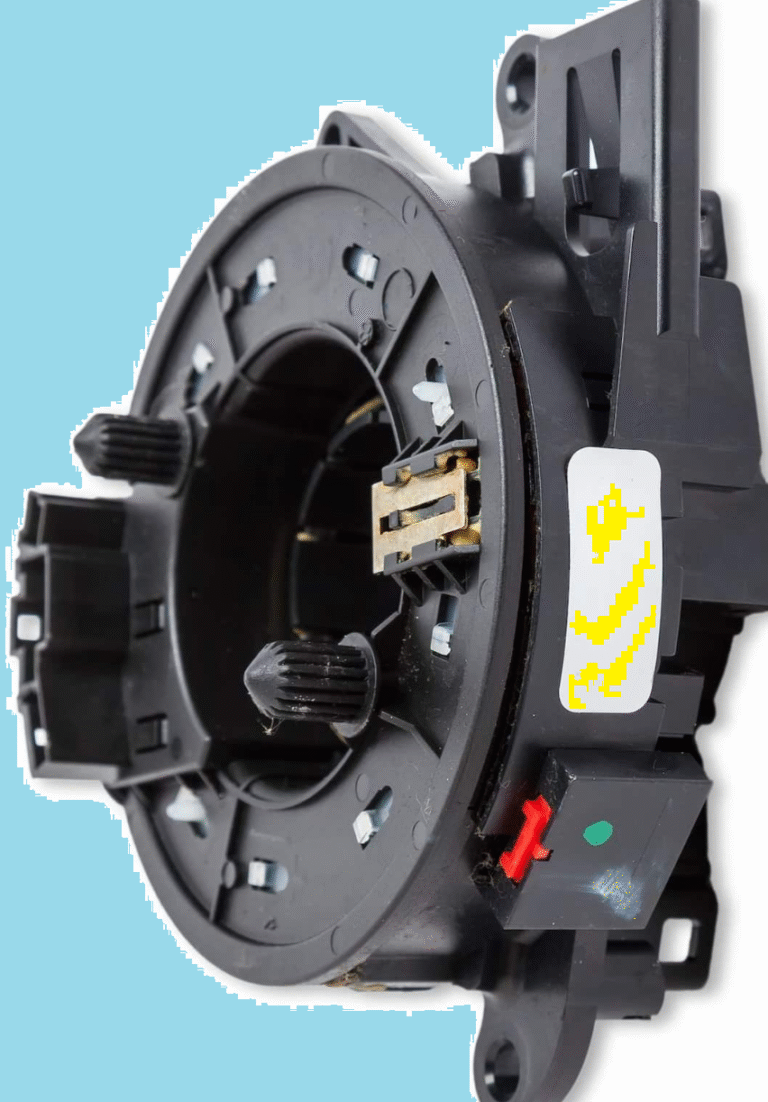
Faulty Clock Spring
The clock spring in the steering column can wear out or break, cutting off the connection to the controls. This is common in high-mileage cars or after airbag deployment.
Wiring Issues
Corroded, loose, or damaged wires in the harness or steering column can disrupt signals, especially in salty regions like New York.
Incorrect Installation
Improper wiring or missing adapters during a stereo install can disable controls. I’ve seen this in friends’ cars where the installer skipped the interface module.
Faulty Buttons
Worn or stuck buttons on the steering wheel can fail to send signals. Dust or spills (common in urban driving) can gum them up.
| Issue | Symptoms | Fix |
|---|---|---|
| Incompatible Stereo | Controls don’t work with new unit | Install interface adapter |
| Faulty Clock Spring | Controls and airbag light issues | Replace clock spring |
| Wiring Issues | Intermittent or no function | Inspect and repair wiring |
| Incorrect Installation | Controls dead after stereo swap | Reinstall with correct adapter |
| Faulty Buttons | Specific buttons don’t work | Clean or replace buttons |
Tools and Materials Needed
Here’s what I use for connecting or fixing steering wheel controls. Costs are based on typical US prices.
| Item | Purpose | Cost (Approx.) |
|---|---|---|
| Steering Wheel Control Adapter | Links factory controls to aftermarket stereo | $30–$100 |
| Wire Crimpers | Secures wire connections | $15–$30 |
| Electrical Tape | Insulates wires | $3–$5 |
| Screwdrivers | Removes stereo and panels | $5–$20 |
| Trim Removal Tools | Pops off dash panels | $10–$20 |
| Multimeter | Tests wiring continuity | $10–$50 |
| Wire Connectors | Joins wires securely | $5–$10 |
| OBD-II Scanner | Checks for related fault codes | $50–$150 |
| Replacement Clock Spring (if needed) | Restores steering column connection | $50–$200 |
Total Cost: $80–$400, depending on the job and tools you already own.
My Picks: Axxess or PAC Audio adapters for reliability, and a Klein Tools crimper for solid connections.
Step-by-Step Guide to Connecting Steering Wheel Audio Controls
Here’s how I connect steering wheel audio controls when installing an aftermarket stereo or fixing a broken setup. This guide works for most US cars, like Fords, Chevys, or Toyotas.
Step 1: Verify Compatibility
Check if your new stereo supports steering wheel controls. Brands like Pioneer, Kenwood, and Alpine often require an adapter (e.g., Axxess ASWC-1). Look up your car and stereo model for the right interface module.
Pro Tip: Write down your car’s make, model, year, and stereo model before shopping—it saves time matching adapters.
Step 2: Gather Tools and Disconnect Battery
Disconnect the negative battery terminal to avoid electrical shorts or airbag deployment. Gather your tools and adapter, and have your car’s wiring diagram handy (check the manual or online forums).
Warning: Always disconnect the battery before working on steering column or airbag-related components to prevent accidental deployment.
Step 3: Remove the Old Stereo
- Remove Trim: Use trim tools to pop off the dash panel around the stereo.
- Unscrew Stereo: Remove screws holding the head unit (usually 4–6).
- Disconnect Wiring: Unplug the harness and antenna. Note any existing steering wheel control wires or adapters.
Time: 15–30 minutes.
Step 4: Identify Steering Wheel Control Wires
Find the steering wheel control wires in the stereo harness (check your car’s wiring diagram). In older cars, these are analog (resistance-based) wires; in newer cars, they’re part of the CAN bus. Use a multimeter to test continuity if unsure.
My Experience: In my Ram, the control wires were two thin green and white wires in the main harness. A quick multimeter test confirmed their function.
Step 5: Connect the Interface Adapter
- Plug in Adapter: Connect the steering wheel control adapter to the stereo’s harness and the car’s control wires.
- Program the Adapter: Follow the adapter’s instructions—some auto-detect (e.g., Axxess ASWC-1), others need manual button mapping via a smartphone app or PC.
- Secure Connections: Use crimp connectors or solder for a solid connection, then wrap with electrical tape.
Cost: $30–$100 for the adapter.
Step 6: Install the New Stereo
- Connect Harness: Plug the adapter and main harness into the new stereo.
- Mount Stereo: Slide the head unit into the dash and secure with screws.
- Test Controls: Reconnect the battery and test each steering wheel button (volume, track, mode).
Time: 30–60 minutes.
Step 7: Troubleshoot if Needed
If controls don’t work:
- Check adapter programming.
- Verify wiring connections with a multimeter.
- Ensure the stereo firmware is updated (check the manufacturer’s website).
Step 8: Reassemble and Test Drive
Reattach dash trim and test the controls while driving (safely). Confirm all buttons work for volume, track changes, and other functions.
Total Time: 1–3 hours.
Total Cost: $80–$200 (adapter, tools, optional clock spring).
| Step | Time | Cost | Difficulty |
|---|---|---|---|
| Verify Compatibility | 10 min | $0 | Easy |
| Disconnect Battery | 5 min | $0 | Easy |
| Remove Stereo | 15–30 min | $0 | Moderate |
| Identify Wires | 15–20 min | $10–$50 (multimeter) | Moderate |
| Connect Adapter | 20–30 min | $30–$100 | Moderate |
| Install Stereo | 30–60 min | $0 | Moderate |
| Troubleshoot | 15–30 min | $0 | Moderate |
| Reassemble/Test | 15–30 min | $0 | Easy |
Fixing Non-Working Steering Wheel Controls
If your factory controls stopped working, try these fixes based on my experience.
Clean the Buttons
Spills or dust can jam buttons. Remove the steering wheel cover (check your manual) and clean with isopropyl alcohol and a soft brush. Test each button.
Cost: $5–$10 for alcohol.
Check the Clock Spring
A faulty clock spring can disable controls and trigger an airbag light. Test with a multimeter for continuity. Replacement is tricky—leave it to a pro unless you’re experienced.
Cost: $50–$200 for parts, $100–$300 for labor.
Warning: Clock spring work involves airbags. Disconnect the battery and wait 10 minutes to avoid accidental deployment.
Inspect Wiring
Check the harness behind the stereo and in the steering column for loose or corroded wires. In salty states like Michigan, corrosion is common. Clean with electrical cleaner or replace damaged wires.
Cost: $5–$20 for cleaner/connectors.
Reset the System
Some cars need a TPMS or SRS reset after electrical work. Use an OBD-II scanner ($50–$150) to clear codes or reset the system.
My Experience: A friend’s Ford Focus had dead controls after a stereo swap. A loose harness pin was the culprit—resecuring it took 10 minutes.
Choosing a Steering Wheel Control Adapter
The right adapter makes or breaks the project. Here’s what I look for:
- Compatibility: Match your car and stereo (e.g., Axxess ASWC-1 for universal fit, PAC SWI-RC for Pioneer/Kenwood).
- Auto-Programming: Adapters like Axxess auto-detect buttons, saving time.
- Durability: Look for weather-resistant units for humid or cold climates.
- Warranty: 1-year minimum for peace of mind.
My Pick: Axxess ASWC-1 ($50) worked flawlessly in my Ram with a Pioneer stereo.
Pros and Cons of Connecting Steering Wheel Controls
| Pros | Cons |
|---|---|
| Improves safety by reducing distractions | Can be complex for beginners |
| Enhances driving experience | Adapters add cost ($30–$100) |
| Increases resale value | Clock spring repair is pricey |
| DIY-friendly with right tools | Risk of airbag deployment if mishandled |
| Works with most aftermarket stereos | May require reprogramming |
Tips for US Driving Conditions
US roads and climates affect electrical systems:
- Snowy Regions (e.g., Wisconsin): Salt corrodes wiring. Inspect harnesses annually and use dielectric grease ($5) on connectors.
- Hot Climates (e.g., Arizona): Heat can degrade adapters. Store spare units in a cool place.
- Urban Areas (e.g., New York): Vibrations from potholes can loosen connections. Check wiring after rough drives.
- Rural Roads (e.g., Montana): Dust can clog buttons. Clean regularly with compressed air ($5).
Real-World Example: My Ram’s controls failed after a salty winter. A $10 can of electrical cleaner fixed corroded pins in the harness.
Maintaining Steering Wheel Controls
Keep controls working with these tips:
- Clean Regularly: Wipe buttons with a damp cloth to remove dirt or spills.
- Check Connections: Inspect wiring annually, especially in corrosive climates.
- Update Stereo Firmware: Newer firmware can improve control compatibility.
- Avoid Overloading: Don’t add too many aftermarket accessories—they can strain the electrical system.
Cost: $5–$20 for cleaners and grease.
Common Mistakes to Avoid
- Skipping the Adapter: Aftermarket stereos need an interface module for controls to work.
- Ignoring Airbag Risks: Always disconnect the battery before working near the steering column.
- Using Cheap Adapters: Bargain units fail fast. Stick to Axxess or PAC.
- Not Testing: Test each button before reassembling to catch issues early.
- Overcomplicating Wiring: Follow the adapter’s wiring diagram exactly to avoid shorts.
My Experience: I skipped testing my Ram’s controls before reassembling the dash. A loose wire meant tearing it apart again—lesson learned.
Conclusion
Connecting steering wheel audio controls is a straightforward DIY project that boosts safety and convenience for any US driver. Whether you’re upgrading your stereo or fixing broken buttons, the right adapter, tools, and a bit of patience will get the job done. From snowy interstates to bumpy backroads, functional controls let you focus on driving while enjoying your tunes. Grab your tools, double-check your wiring, and hit the road with confidence.
Pro Tip: Keep your car’s wiring diagram and adapter manual in your glovebox. They’re lifesavers if you need to troubleshoot on the go.
FAQ
Why don’t my steering wheel controls work with my new stereo?
Aftermarket stereos often need an adapter (like Axxess ASWC-1) to connect to factory controls. Check compatibility and install one.
How much does it cost to connect steering wheel controls?
Expect $30–$100 for an adapter, plus $20–$50 for tools. Clock spring or wiring repairs can add $100–$500.
Can I connect steering wheel controls myself?
Yes, with basic tools, an adapter, and your car’s wiring diagram, it’s a DIY-friendly job taking 1–3 hours.
What if my airbag light comes on after installing controls?
A faulty clock spring or loose wiring may be the cause. Disconnect the battery and have a pro inspect it to avoid airbag issues.
How do I know if my car’s steering wheel controls are compatible?
Check your stereo and car’s manual or consult the adapter manufacturer’s compatibility chart for your make, model, and year.