I still remember the exact moment my interior car door handle broke—I was in a hurry, grabbed it a little too hard, and snap… suddenly I was stuck inside, laughing at the irony while also realizing I had a real problem to fix. It might seem like a small issue, but when that handle stops working, it can turn every drive into an annoying hassle.
The good news? Fixing a broken interior door handle isn’t as complicated as it seems. I’ve replaced a few over the years—on both older and newer cars—and with a bit of patience and the right tools, it’s a totally doable DIY project.
Whether it’s a plastic clip that snapped or a whole handle that needs swapping out, there’s always a way to get it working again without a pricey trip to the shop.
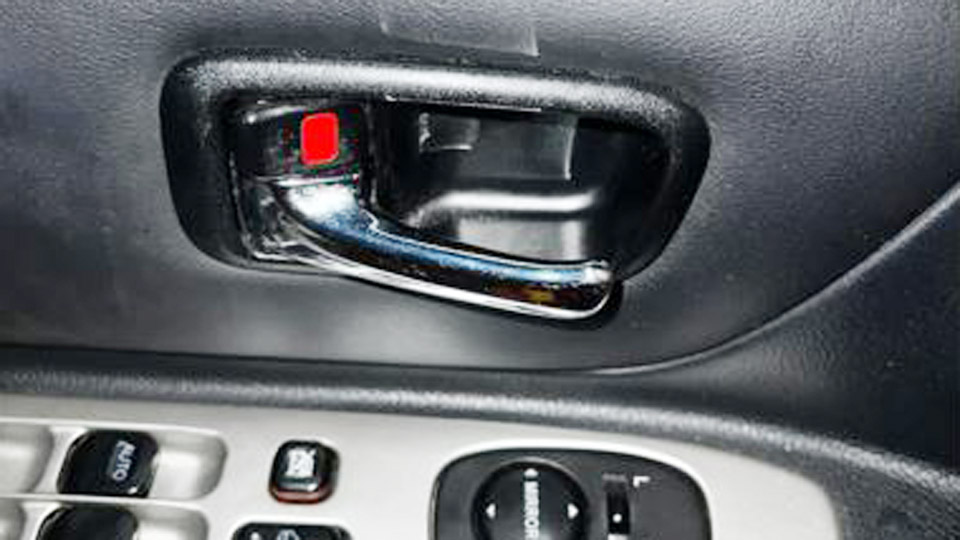
Image by reddit
I’ll walk you through the exact steps I’ve used to fix broken interior car door handles—from removing the door panel to reinstalling the new part—so you can take back control of your car door without breaking the bank.
Why Do Interior Car Door Handles Break?
Interior door handles take a beating. Every time you hop in or out, you’re yanking on that handle, and over time, the plastic or metal can wear out. I’ve seen handles snap from cheap materials, especially in older cars or base-model trims. Sometimes, it’s not the handle itself but the internal mechanism—like cables or clips—that fails.
My old Civic had a handle that felt loose for weeks before it finally gave up; turns out, a tiny plastic clip inside had cracked. Other culprits include rough use, like kids swinging on the handle, or even cold weather making plastic brittle. Knowing why it broke helps you fix it right and prevent it from happening again.
Tools and Supplies You’ll Need
I keep a toolbox ready for jobs like this, and you can find most of these at any hardware or auto parts store. Here’s what I use to fix a broken interior door handle.
| Item | Purpose | Approximate Cost |
|---|---|---|
| Screwdriver Set (Phillips/Flathead) | Removes door panel screws | $10–$20 |
| Trim Removal Tool | Pops off door panel without damage | $5–$15 |
| Replacement Door Handle | Replaces broken handle | $10–$50 (varies by car) |
| Socket Wrench Set | Removes bolts inside door | $20–$50 |
| Torx Bits (Optional) | For specific screws in some cars | $5–$15 |
| Plastic Clips (Optional) | Replaces broken panel clips | $5–$10 (pack) |
| Lubricant (e.g., WD-40) | Loosens stuck parts | $5–$10 |
| Work Gloves | Protects hands from sharp edges | $5–$15 |
| Flashlight or Work Light | Illuminates inside the door | $10–$20 |
Check your car’s make and model to get the right replacement handle. I learned this the hard way when I ordered a handle for my Ford that didn’t fit—always double-check the part number!
Diagnosing the Problem
Not every broken handle needs a full replacement. Sometimes, it’s a loose screw or a snapped cable. Here’s how I figure out what’s wrong before tearing into the door.
Inspect the Handle
Grab the handle and give it a gentle tug. Does it feel loose, stuck, or completely limp? If it’s loose, a screw or clip might have come undone. If it’s limp and doesn’t open the door, the cable or latch mechanism is likely the issue. I had a buddy’s Toyota where the handle moved but did nothing—the cable had popped off the latch.
Check the Door Mechanism
If the handle feels okay but the door won’t open, the problem might be deeper inside. Open the door (use the exterior handle if needed) and peek inside the panel.
Use a flashlight to look for disconnected cables or broken parts. I once found a snapped plastic clip in my Jeep that was causing all the trouble—$2 to replace, and I was back in business.
Test Other Doors
If other doors have similar issues, it might point to a central locking problem rather than just the handle. My neighbor’s minivan had a handle that wouldn’t budge, but it turned out the power lock actuator was jamming the mechanism. A quick test of all doors can save you from chasing the wrong fix.
Step-by-Step Guide to Fixing a Broken Interior Door Handle
Alright, let’s get to work. Here’s how I fix a broken interior door handle, based on countless repairs in my garage. This guide assumes you’re replacing the handle, but I’ll note where you can skip steps if it’s just a loose part.
Step 1: Prepare Your Workspace
Park your car in a well-lit, flat area—your garage or driveway works great. Disconnect the battery to avoid any electrical mishaps, especially if your door has power windows or locks.
I forgot to do this once on a Chevy and got a nice little shock from a loose wire. Lay down a towel or tarp to catch any screws or clips that might fall. Those tiny parts love to disappear.
Step 2: Remove the Door Panel
Start by finding all the screws holding the door panel in place. Check around the handle, armrest, and along the edges. Use a Phillips or flathead screwdriver, depending on your car. Some cars, like my old Honda, have screws hidden under plastic caps—pop those off with a trim tool or flathead.
Once the screws are out, use a trim removal tool to gently pry the panel away from the door frame. Work slowly to avoid breaking the clips. I’ve snapped a few in my time, and they’re a pain to replace. If your car has power windows, disconnect the wiring harness before fully removing the panel.
Step 3: Access the Handle Assembly
With the panel off, you’ll see a plastic vapor barrier covering the door’s innards. Peel it back carefully—you’ll need to reuse it. Now, locate the handle assembly, usually held in place by a few bolts or screws.
Use a socket wrench or Torx bit to remove them. I worked on a Dodge where the handle was tucked behind a metal bracket—took some wiggling to get to it. Shine a flashlight in there to spot the handle, cable, and latch mechanism.
Step 4: Remove the Broken Handle
If the handle itself is broken, unclip or unscrew it from the assembly. Most handles are held by a single bolt or clip, but some have a cable attached to the latch. Gently disconnect the cable by sliding it out of its slot.
I had a Ford where the cable was stuck, and a quick spray of WD-40 loosened it right up. If the handle’s fine but the cable or clip is broken, you might only need to replace those parts—check closely to save yourself a few bucks.
Step 5: Install the New Handle
Take your replacement handle and test-fit it to make sure it matches. Attach the cable or clip to the new handle, then secure it with the bolts or screws you removed earlier. Tighten them snugly, but don’t overdo it—stripping a screw inside a door is a nightmare.
I always give the handle a few test pulls to make sure it moves smoothly and engages the latch. On my buddy’s Camry, I had to adjust the cable tension slightly to get it just right.
Step 6: Reassemble the Door
Reattach the vapor barrier, making sure it seals properly to keep water out. Pop the door panel back on, aligning the clips carefully. Press firmly until you hear them snap into place, then reinstall the screws.
Reconnect any wiring for power windows or locks. I once rushed this step on my truck and ended up with a rattling panel—take your time to get it snug.
Step 7: Test the Handle
Reconnect the battery, hop in the car, and test the handle. Open and close the door a few times to make sure it works smoothly. If it feels off, double-check the cable or clips inside. I had to tweak the alignment on a Nissan handle once to get it to catch properly.
Costs of Fixing a Broken Interior Door Handle
Here’s a rough idea of what you’ll spend, based on my experience fixing handles on various cars. DIY is way cheaper, but a shop can save time if you’re not confident.
| Item/Service | DIY Cost | Professional Cost |
|---|---|---|
| Replacement Door Handle | $10–$50 | $50–$150 (parts+labor) |
| Trim Removal Tool | $5–$15 | N/A |
| Plastic Clips (if needed) | $5–$10 (pack) | $10–$20 |
| Cable or Latch (if needed) | $10–$30 | $50–$100 (labor) |
| Professional Repair | N/A | $100–$300 |
Prices vary by car make and model—luxury brands like BMW tend to cost more. I always shop around online for parts to save a few bucks.
Common Challenges and How to Handle Them
Fixing a door handle isn’t always smooth sailing. Here are some hiccups I’ve run into and how I dealt with them.
Stuck or Stripped Screws
Sometimes, screws are rusted or overtightened. Spray WD-40 and let it sit for a few minutes, then use a good-quality screwdriver to avoid stripping. I stripped a screw on my old Subaru and had to drill it out—don’t make my mistake.
Broken Clips
Door panel clips love to break. Keep extras on hand, and make sure they match your car’s model. I’ve got a stash of universal clips in my toolbox for just this reason.
Tricky Cables
If the cable won’t disconnect or reconnect easily, don’t force it. Use a flashlight to see how it’s attached, and wiggle gently. I broke a cable clip on a Chevy once by rushing—patience is key.
Electrical Issues
If your door has power locks or windows, be careful with the wiring. Label connectors before disconnecting them to avoid confusion. I mixed up wires on a friend’s SUV and spent an hour sorting it out.
Preventing Future Door Handle Problems
Once your handle’s fixed, you want it to stay that way. Here’s how I keep my door handles in good shape.
Be Gentle with Handles
Don’t yank or slam the handle—use smooth, steady pulls. I tell my kids to treat the car like it’s their favorite toy, and it’s saved my handles from extra wear.
Lubricate Moving Parts
Every year or so, spray a little WD-40 or silicone lubricant on the latch and cable mechanism. I do this during my annual maintenance, and it keeps things moving smoothly.
Check for Wear
Inspect your handles periodically for looseness or cracks. Catching a loose screw early can prevent a full break. I found a wobbly handle on my wife’s car and tightened it before it snapped.
Upgrade to Quality Parts
If your car’s handles are cheap plastic, consider upgrading to a higher-quality aftermarket or OEM part. I swapped out the flimsy handles on my old Ford for sturdier ones, and they’ve lasted years.
Practical Tips and Warnings
A few extra pointers from my time in the garage: always work in a well-lit area to avoid losing small parts. Keep a magnet handy to grab dropped screws—they love to roll under the seat. Wear gloves to protect your hands from sharp edges inside the door.
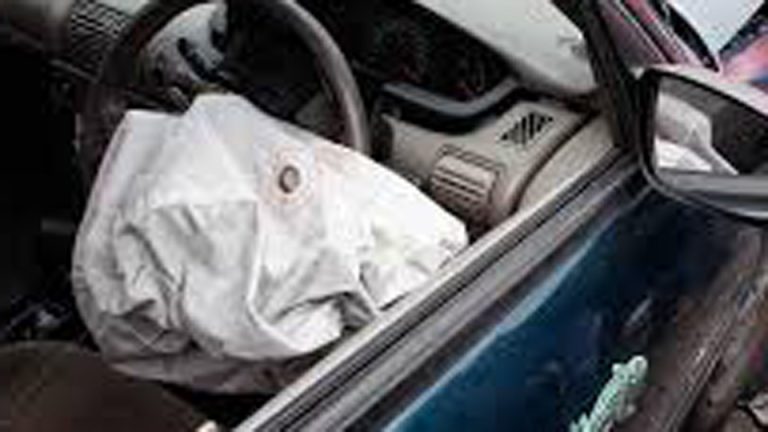
If you’re working on a car with airbags, disconnect the battery and wait 10 minutes to avoid accidental deployment. I almost learned this the hard way on a Dodge with a side airbag.
Don’t force anything—if a panel or clip won’t budge, double-check for hidden screws. And if the job feels overwhelming, it’s okay to call a pro. I’ve taken a couple of tricky jobs to my mechanic when the wiring or latches were too complex.
Finally, double-check your replacement part before starting—nothing’s worse than getting halfway through and realizing it doesn’t fit.
Get Back to Easy Exits
A broken interior car door handle is a pain, but with some basic tools and a bit of patience, you can fix it yourself and save a chunk of change. I’ve been wrestling with a stubborn door panel in my driveway, but there’s nothing like the satisfaction of popping open your door with a handle that works like a dream.
Follow these steps, take your time, and you’ll be back to hopping in and out of your ride with ease. Grab your screwdriver, crank up some tunes, and let’s get that handle fixed!
Read more on interior car door handle
FAQ
Why did my interior car door handle break?
Handles break from wear and tear, cheap materials, or rough use. Plastic clips or cables inside can snap, or the handle itself can crack, especially in older cars or cold weather.
Can I fix a broken door handle without replacing it?
Sometimes, yes. If it’s just a loose screw or disconnected cable, you can tighten or reattach it. But if the handle or clips are cracked, replacement is usually the best fix.
How long does it take to fix an interior door handle?
For most cars, it takes 1–2 hours if you’re handy. Tricky panels or wiring can add time. I fixed my Civic’s handle in about an hour, but my Jeep took longer due to stubborn clips.
Do I need a professional to fix a broken door handle?
Not usually—DIY is doable with basic tools. But if you’re dealing with complex wiring or a stuck latch, a pro can save you time and hassle.
How can I avoid breaking my door handle again?
Be gentle when using it, lubricate the mechanism yearly, and check for looseness regularly. Upgrading to a sturdier handle can also help prevent future breaks.