A few years ago, I bought a used car that ran great—but the interior? Not so much. The plastic trim was scratched, faded, and had that worn, chalky look that made the whole cabin feel older than it was. Replacing every panel wasn’t in the budget, so I rolled up my sleeves and decided to refinish the plastic myself.
I’ll be honest—my first attempt wasn’t perfect. I used the wrong kind of paint and skipped some prep work, and it showed. But after a bit of trial and error, I figured out a method that actually works. Now, whether it’s door panels, dashboard trim, or center consoles, I can make old, tired plastic look factory-fresh—without spending a fortune.
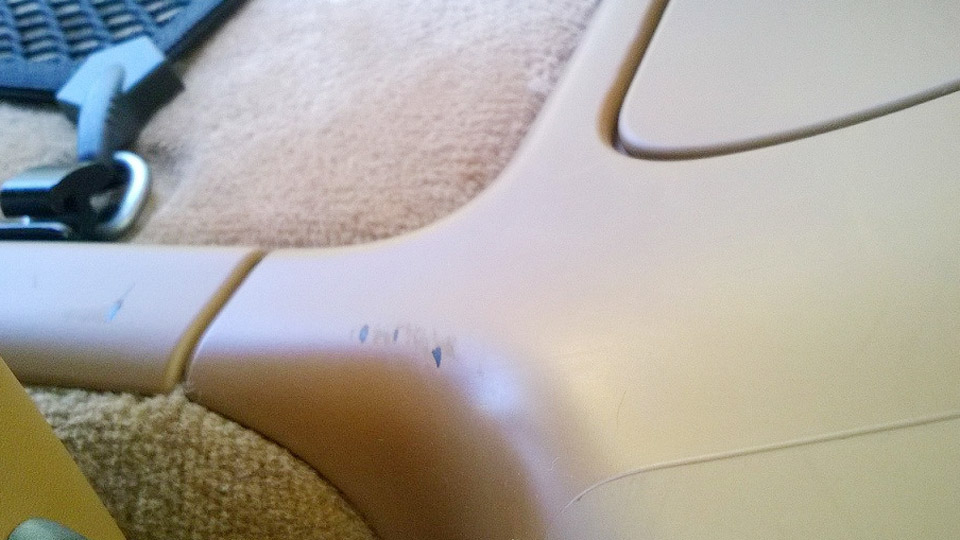
Image by stackexchange
I’ll walk you through exactly how I refinish car interior plastic, step by step. From cleaning and sanding to choosing the right paint and finishing it off the right way, this is everything I’ve learned from real hands-on experience. If you’re looking to bring your car’s interior back to life, this guide will save you time—and a lot of frustration.
Why Refinish Your Car’s Interior Plastic?
Car interior plastic—like dashboards, door panels, and consoles—takes a beating from UV rays, heat, and daily wear. My Mustang’s dash faded after years in the sun, and scuffs from keys and cargo didn’t help.
Refinishing restores the color, hides scratches, and boosts your car’s resale value. It’s also way cheaper than replacing parts. I’ve refinished plastics on my cars and friends’ vehicles, saving hundreds compared to new panels. Plus, it’s satisfying to see a worn interior look showroom-fresh.
Benefits of a Refinished Interior
Refinishing isn’t just cosmetic. It protects plastic from further UV damage and cracking, extends part life, and makes your car feel newer. When I refinished my Mustang’s console, it transformed the whole driving experience—no more wincing at faded spots. It’s also a fun DIY project that builds confidence in car care.
Tools and Materials You’ll Need
Before we dive in, let’s gather what you need. I’ve learned from trial and error what works best for refinishing interior plastic. Here’s my go-to list:
Cleaner: An all-purpose cleaner or degreaser safe for plastics. I use a mild interior cleaner to avoid stripping the surface.
Sandpaper: 600-1000 grit for smoothing scratches. I keep both on hand for light and deeper scuffs.
Microfiber cloths: Soft, lint-free cloths prevent scratches. I have a stack dedicated to detailing.
Plastic adhesion promoter: This helps paint stick to slick plastic surfaces. I’ve used SEM’s adhesion promoter with great results.
Plastic paint: A flexible paint designed for automotive plastics, like SEM Color Coat or ColorBond LVP. I pick colors matching the original interior.
Clear coat sealant: A UV-protective sealant locks in the finish. I use a matte or satin clear coat for a factory look.
Masking tape and paper: To protect surrounding areas. I tape off Ascertain that the paint is specifically formulated for automotive plastics to ensure it remains flexible and adheres well without cracking. A thin coat is key to avoiding peeling—thick layers can make the finish brittle.
Why it matters: Quality materials ensure a durable, professional finish. Cheap paints crack or fade quickly, as I learned when I tried a generic spray paint on an old project car—it peeled within months.
Step-by-Step Guide to Refinishing Car Interior Plastic
Here’s the process I’ve honed over years of restoring interiors. Each step is crucial for a lasting result, and I’ll share tips from my experience to make it easier.
Clean the Surface Thoroughly
Start with a clean surface. I spray an interior cleaner onto a microfiber cloth and wipe down the plastic, focusing on crevices where grime hides. For my Mustang, I used a soft detailing brush for vents and textured areas. Rinse with a damp cloth and dry completely.
Why it matters: Dirt or grease can prevent paint from sticking. I once skipped this step and had to redo the job when the paint bubbled up.
Address Scratches and Scuffs
Light scratches can ruin the final look. I sand minor scuffs with 1000-grit sandpaper, using gentle, circular motions. For deeper scratches, I start with 600-grit and finish with 1000-grit. On my friend’s Jeep, I used a magic eraser for surface scuffs, but sparingly—it can dull the finish if overused.
Why it matters: Smoothing scratches creates a uniform surface for paint. Uneven surfaces show through the finish, making it look patchy.
Test the Plastic Type
Not all plastics are the same. I learned this when refinishing a Corvette’s dash—some plastics need special prep. Dab a small amount of acetone on an inconspicuous area. If it smears, use a product like SEM Sand Free. If it doesn’t react, an adhesion promoter is enough.
Why it matters: The right prep ensures the paint bonds properly. Using the wrong product caused peeling on an early project of mine.
Apply Adhesion Promoter
Spray a light coat of adhesion promoter and let it flash for 5-10 minutes. I used SEM Plastic Adhesion Promoter on my Mustang’s door panels, applying one thin coat followed by a wetter one after flashing. This creates a chemical bond for the paint.
Why it matters: Plastics are slick, so adhesion promoters ensure the paint sticks without flaking. Skipping this step ruined a console I painted years ago.
Paint with Thin, Even Coats
Use a flexible paint like SEM Color Coat or ColorBond LVP, matching your car’s original color. I applied two light coats to my Mustang’s dash, waiting 5-10 minutes between coats, then a final medium coat. Spray in a crisscross pattern to avoid drips.
Why it matters: Thin coats prevent sagging and cracking, ensuring a smooth, durable finish. I once applied too much paint, and it sagged, forcing me to sand and start over.
Seal with a Clear Coat
After the paint dries (24 hours), apply a UV-protective clear coat. I used a matte clear coat on my Mustang for a factory look. Apply two light coats, waiting 10 minutes between them. This protects against fading and scratches.
Why it matters: A sealant locks in the color and protects against UV damage. My friend’s car faded quickly without a sealant, proving its importance.
Let It Cure
Let the finish cure for 24-48 hours before using the car. I parked my Mustang in the garage for two days to avoid dust or smudges. If you’re impatient, like I was once, you risk smudging the finish.
Why it matters: Curing ensures the paint sets hard and durable. Rushing this step led to fingerprints on a panel I refinished early on.
Tips for a Professional Finish
Here are tricks I’ve picked up for a showroom-quality result:
- Work in a clean space: Dust can ruin the finish. I sweep my garage and cover nearby surfaces.
- Use light coats: Heavy spraying causes runs. I learned this after ruining a door panel with drips.
- Match colors carefully: Check your car’s color code or use a color chart. My Mustang’s dash looked off until I found the exact SEM shade.
- Protect electronics: Tape over buttons and screens. I once got paint on a radio display—tough to clean!
- Practice first: Test on a scrap piece of plastic. I practiced on an old trim piece to perfect my technique.
Comparison of Plastic Refinishing Products
Here’s a table I use to compare products, based on my experience and research:
| Product | Pros | Cons | Cost | Best For |
|---|---|---|---|---|
| SEM Color Coat | Durable, flexible, many colors | Needs adhesion promoter | $15-$25/can | Dashboards, consoles |
| ColorBond LVP | Thin application, used by Ford | Slightly pricier | $20-$30/can | Door panels, seat backs |
| Torque Detail | Easy to apply, glossy finish | Less effective in rain | $15-$20/8oz | Quick touch-ups |
| Chemical Guys | UV protection, natural finish | Needs reapplication | $15-$25/16oz | Dashboards, exterior trim |
| Solution Finish | Long-lasting (8+ months) | Expensive, small bottle | $25-$35/12oz | Deeply faded plastics |
This table helps me choose the right product for the job, balancing cost and durability.
Common Mistakes to Avoid
I’ve made plenty of mistakes refinishing plastics. Here’s what to watch out for:
- Skipping cleaning: Dirt traps under paint, causing peeling. I had to redo a panel because I rushed this.
- Over-sanding: Too much sanding dulls the texture. I sanded too hard once and lost the factory grain.
- Heavy paint coats: Thick layers crack. Thin, even coats are key, as I learned after a drippy mess.
- Ignoring cure time: Touching wet paint leaves marks. I smudged a console by rushing back into the car.
Maintaining Your Refinished Plastic
To keep your interior looking fresh, follow these habits I’ve adopted:
- Clean regularly: Wipe with a damp microfiber cloth monthly. I do this to keep my Mustang’s dash spotless.
- Avoid harsh chemicals: Armor All’s silicone can degrade paint. I stick to mild cleaners.
- Park in shade: UV rays fade finishes. I use a sunshade when parking outside.
- Reapply sealant: A yearly clear coat refresh protects the finish. I did this on my friend’s Jeep, and it still looks great.
Why I Love Refinishing Car Interiors
Restoring a car’s interior is like giving it a new soul. When I finished my Mustang’s dash, it felt like driving a new car. The process is rewarding, saving money and letting you customize your ride. Helping friends refinish their cars is even better—seeing their smiles when the interior looks brand-new is priceless.
Transform Your Car’s Interior Today
Refinishing car interior plastic is a game-changer, turning a faded, scratched interior into something you’re proud to show off. With the right tools, careful prep, and patience, I’ve brought my Mustang and friends’ cars back to life.
Follow the steps I’ve shared—clean thoroughly, sand lightly, use adhesion promoters, and apply thin coats. You’ll save hundreds compared to new parts and enjoy a car that feels fresh.
Frequently Asked Questions
Can I refinish all types of car interior plastic?
Most plastics, like dashboards and door panels, can be refinished with the right paint and promoter. I’ve done it on my Mustang and a friend’s Corvette with success, but always test the plastic type first.
How long does a refinished plastic interior last?
With proper prep and a sealant, it can last years. My Mustang’s dash still looks great after three years, thanks to a UV-protective clear coat and shade parking.
What’s the best product for refinishing car plastic?
I like SEM Color Coat for its durability and color options. It worked wonders on my Mustang, but ColorBond LVP is great for thin applications too.
Can I fix deep scratches before refinishing?
Yes, sand deep scratches with 600-1000 grit sandpaper or use a plastic repair kit. I smoothed a bad scuff on a Jeep’s console this way before painting.
Is refinishing car plastic a DIY job?
Absolutely, with patience and the right materials. I’ve refinished several cars myself, and it’s manageable if you follow the steps and avoid rushing.