I’ll never forget the time I was stranded in my driveway, ready to change the oil in my old Ford pickup, only to realize I’d misplaced my oil filter wrench. Panic set in—how was I going to remove the car oil filter without a tool? With a little creativity and some household items, I got it done, though not without a few oily messes.
I’m sharing my experience to help you tackle this job like we’re working together in my garage. Whether you’re in a pinch or just want to save a trip to the store, these methods will get that stubborn filter off safely and efficiently.
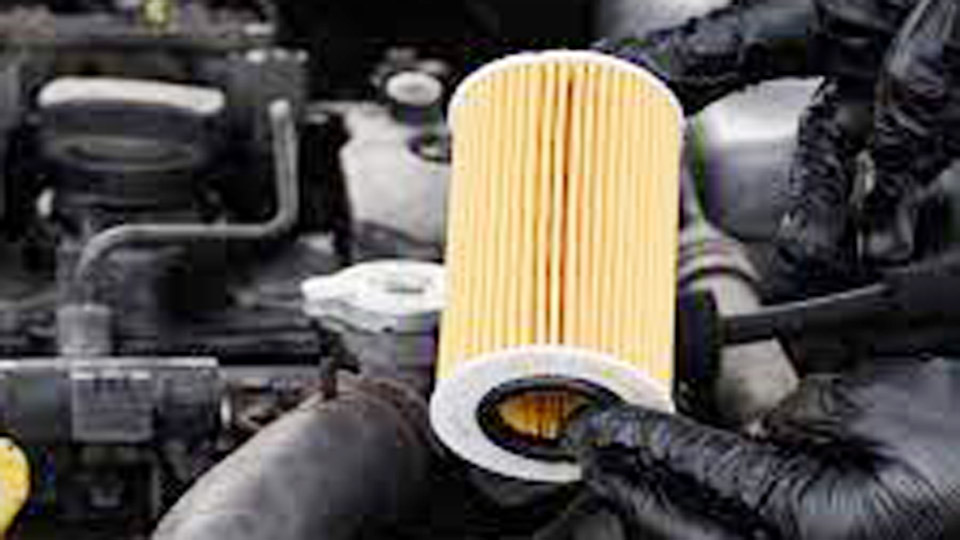
Image by jalopnik
Why You Might Need to Remove an Oil Filter Without a Tool
Oil filters are essential for keeping your engine clean, trapping dirt and debris as oil circulates. But sometimes, they’re a pain to remove, especially if they’re overtightened or stuck. I’ve been there—my first oil change on a used car had a filter that felt welded on.
Maybe you’ve lost your wrench, or you’re on the road without your toolkit. Knowing how to remove a car oil filter without a tool can save the day. Plus, it’s empowering to solve the problem with what you have on hand.
The Risks of a Stuck Filter
A stuck oil filter can lead to bigger issues if not handled properly. Forcing it off incorrectly might damage the filter housing or engine mounting surface, leading to leaks. I once saw a friend dent their filter so badly it cracked, spilling oil everywhere. Using makeshift methods carefully avoids these headaches and keeps your engine safe.
When to Try This
These tool-free methods work best for filters that aren’t insanely tight. If the filter was installed properly—hand-tight plus a quarter turn—they’re often manageable. But if it’s been overtightened (like my Ford’s was), you’ll need extra grip and patience. If you’re unsure, try these techniques before resorting to a shop.
Preparing Your Car for the Job
Before you start, a little prep goes a long way. I’ve learned this from years of oil changes in my driveway, where skipping steps led to spills or sore knuckles.
Park Safely and Gather Supplies
Park your car on a flat surface and engage the parking brake. I use a piece of cardboard under the car to catch drips—saves my driveway from stains. You’ll need a drain pan, gloves, rags, and household items like a belt or sandpaper. If you’re jacking up the car, use jack stands for safety. I skipped stands once, and the car shifted—scary moment I won’t repeat.
Warm the Engine Slightly
Warm oil flows better, and a slightly warm filter is easier to loosen. I run my engine for 2-3 minutes, then let it cool for 10-15 minutes to avoid burns. One time, I tried removing a hot filter and nearly scorched my hand. Warm, not hot, is the sweet spot.
Locate the Oil Filter
Find your oil filter—usually a metal canister near the engine’s bottom or side. My truck’s filter is under the chassis, while my wife’s sedan has it topside. Check your owner’s manual if you’re unsure. Knowing its location helps you plan which method to use, especially in tight spaces.
Tool-Free Methods to Remove a Stuck Oil Filter
Here are the methods I’ve used successfully to remove oil filters without a wrench. Each has worked for me at different times, depending on the car and situation. I’ll explain why each works and how to do it safely.
Belt Method
An old leather belt or sturdy strap can act like a strap wrench. I discovered this trick when my filter wrench went missing during a weekend oil change. Wrap the belt tightly around the filter, leaving a long end to pull.
Grip the belt firmly and pull counterclockwise to loosen the filter. The belt’s texture provides grip, mimicking a proper tool. I used an old work belt once, and it worked like a charm, though it took some elbow grease.
Why it works: The belt creates friction against the filter’s smooth surface, giving you leverage to turn it. It’s great for filters in tight spaces where your hands can’t get a good grip.
Sandpaper Grip
Sandpaper is a game-changer for slippery filters. I keep a sheet of coarse sandpaper (80-120 grit) in my garage for this. Wrap the sandpaper around the filter, gritty side against the metal, and twist counterclockwise with both hands.
The grit bites into the filter, making it easier to turn. I used this on my sister’s car when the filter was slick with oil, and it came off in seconds.
Why it works: Sandpaper increases friction, giving your hands the traction needed to break the filter loose. It’s simple, cheap, and effective for moderately stuck filters.
Rag and Screwdriver Trick
This one’s a bit old-school but effective. I’ve used it on my old Civic when nothing else was around. Wrap a thick rag—like an old T-shirt—around the filter for grip. Then, push a long screwdriver through the filter’s side, using the rag to protect your hand.
Use the screwdriver as a lever to turn the filter counterclockwise. Be ready for oil to spill, so keep your drain pan handy.
Why it works: The screwdriver provides serious leverage, and the rag protects your hand while adding grip. It’s a last resort since it damages the filter, but it’s saved me in emergencies.
Rubber Glove Method
Mechanics gloves or even kitchen rubber gloves can boost your grip. I tried this when my hands kept slipping on a greasy filter. Put on a pair of gloves, grip the filter tightly, and twist counterclockwise. The rubber adds traction, especially if the filter’s oily. I’ve found dishwashing gloves work surprisingly well for this.
Why it works: The rubber creates friction against the filter’s surface, making it easier to turn by hand. It’s a quick fix for filters that aren’t too tight.
Hammer and Chisel Approach
For seriously stuck filters, I’ve used a hammer and chisel as a last-ditch effort. Position a flathead screwdriver or chisel against the filter’s edge, angled counterclockwise. Tap gently with a hammer to start turning it. I had to do this on a friend’s car after a shop overtightened the filter—it was a beast, but this worked.
Why it works: The chisel and hammer deliver precise force to break the filter loose. It’s messy and risks damaging the filter, so use it only when other methods fail.
Step-by-Step Guide to Removing the Oil Filter
Here’s how I combine these methods into a smooth process, based on what’s worked for me over the years. Follow these steps to get the filter off safely.
Drain the Oil First
Place your drain pan under the oil drain plug, usually at the bottom of the engine’s oil pan. Loosen the plug with a wrench and let the oil drain completely—about 10 minutes. I learned to do this first after a filter removal sprayed oil everywhere. Draining reduces mess when the filter comes off.
Try Hand-Twisting First
Before grabbing makeshift tools, try unscrewing the filter by hand. Grip it firmly and turn counterclockwise. If it’s not too tight, it might come off easily. My sedan’s filter often loosens this way, especially if I installed it myself last time. If it doesn’t budge, move to the next methods.
Apply a Tool-Free Method
Start with the belt or sandpaper method for moderate resistance. Wrap the belt or sandpaper tightly and twist with steady pressure. If that fails, try gloves for extra grip. For stubborn filters, use the rag and screwdriver or hammer and chisel, but be cautious to avoid damaging the engine. I always start with the least invasive method to minimize mess.
Clean the Mounting Surface
Once the filter is off, check that the old gasket didn’t stick to the engine. I missed this once, and the double gasket caused a leak that stained my driveway. Wipe the mounting surface with a clean rag to ensure a good seal for the new filter.
Install the New Filter
Rub a thin layer of new oil on the new filter’s gasket to ensure a tight seal and easy removal next time. Screw it on by hand until snug, then give it a quarter to half turn. I over-tightened once and regretted it during the next change—hand-tight is enough.
Safety Tips to Avoid Mess and Injury
I’ve made enough mistakes to know safety is non-negotiable. Here’s how to keep things clean and safe.
Protect Your Hands and Eyes
Wear gloves to avoid burns and keep oil off your skin. I use nitrile gloves—they’re cheap and grippy. Safety glasses are a must if you’re using a screwdriver or chisel; metal bits can fly. I learned this after a close call with oil splashing near my face.
Catch the Oil
Always have a drain pan ready. Oil spills are tough to clean, and I’ve ruined a favorite shirt by being careless. If you’re using the screwdriver method, expect extra mess and position the pan directly under the filter.
Work Slowly
Rushing leads to mistakes. I dented a filter once by hammering too hard, making it harder to remove. Take your time, especially with the chisel or screwdriver methods, to avoid damaging your car.
Disposing of the Old Filter and Oil
Don’t dump used oil or filters in the trash—it’s bad for the environment. I take my old oil to a local auto parts store or recycling center, where they accept it for free. Place the used filter in a sealed plastic bag to prevent leaks. My town has a drop-off site for filters, which makes disposal easy and responsible.
Common Mistakes to Avoid
I’ve learned these the hard way, so you don’t have to.
Leaving the Old Gasket Behind
Always check that the old filter’s gasket comes off with it. I left one stuck once, and the new filter leaked oil everywhere. A quick wipe with a rag prevents this.
Using Too Much Force
Overdoing it with a screwdriver or chisel can damage the filter housing or engine. I cracked a filter once, making a huge mess. Apply steady, controlled force instead.
Not Draining Oil First
Removing the filter before draining the oil pan leads to spills. I learned this after oil poured out mid-removal, soaking my shoes. Always drain first to keep things tidy.
Tool-Free Removal Method Comparison
Here’s a table comparing the methods I’ve used, based on ease, mess, and effectiveness.
| Method | Ease of Use | Mess Level | Best For |
|---|---|---|---|
| Belt Method | Moderate | Low | Moderately tight filters |
| Sandpaper Grip | Easy | Low | Slippery or lightly stuck filters |
| Rag and Screwdriver | Hard | High | Stubborn filters, emergencies |
| Rubber Glove | Easy | Low | Lightly stuck filters |
| Hammer and Chisel | Hard | High | Extremely tight filters |
This table helps me choose the right method based on the situation. For most filters, I start with sandpaper or gloves to keep things clean.
Why I Love DIY Car Maintenance
There’s something satisfying about tackling car maintenance yourself. The first time I removed a filter without a tool, I felt like a problem-solving hero. It’s not just about saving money—though you’ll avoid shop fees—it’s about knowing your car inside and out. Every oil change teaches me something new, and I love sharing that with friends like you.
You Can Do This
Removing a car oil filter without a tool might seem daunting, but with a belt, sandpaper, or even a screwdriver, you can get it done. I’ve been in your shoes, staring at a stuck filter with no wrench in sight, and these methods have saved me time and again. Take it slow, prioritize safety, and you’ll have that filter off in no time.
Frequently Asked Questions
Can I remove an oil filter without any tools at all?
Yes, if the filter isn’t too tight, you can often unscrew it by hand using rubber gloves for extra grip. I’ve done this on my sedan when the filter was installed properly, but it takes a strong grip.
What household items work best for removing a stuck oil filter?
A leather belt, coarse sandpaper, or rubber gloves are great options. I’ve used an old belt to twist off a filter when I was in a pinch, and it worked like a charm.
Is it safe to use a screwdriver to remove an oil filter?
It’s safe if you’re careful, but it’s messy since it punctures the filter. I wrap a rag around it to protect my hand and catch oil, and I only use this method as a last resort.
How do I avoid making a mess when removing the filter?
Drain the oil first and keep a drain pan under the filter. I learned the hard way that skipping the drain step leads to oil everywhere—cardboard or rags help catch spills too.
What if the oil filter is too tight to remove with these methods?
If none of these work, the filter might be overtightened. I’d try applying penetrating oil to the base and waiting 10 minutes, or take it to a mechanic to avoid damaging the engine.